
Today, I want to impart some orchid wisdom I've learned over the years. No, I don't mean how to keep them alive longer than two months - I'm still trying to figure that out myself! This is more a lesson in orchid arrangement and presentation, which is something I feel makes a huge difference in your decor.
What would you rather showcase in your home, a straight-outta-whole-foods mauve ceramic potted orchid? Or this:

That's what I thought... Read on for my first installment of "Orchid Lessons"!

Start with your basic store bought Phalaenopsis orchids - any size will do. I chose this short variety because I wanted this arrangement to live on our island (I've tried it with taller Phales and they knocked into my pendant lights). Trader Joe's has excellent prices and in my experience, they are great quality. Remove from their little pots, but keep the plastic containers intact - I don't pretend to be an expert at re-potting orchids, so please keep them in their original homes!

Select your container - I used this fabulous antique revere bowl I found while out thrifting one day, but I have used a large variety of planters, bowls, even silver champagne buckets for orchids in the past! The key here is to get your scale right... make sure your container provides plenty of visual weight to counter balance your orchids.

Stuff your container with newspaper, styrofoam, etc to provide some padding for the plastic root pots. I like to also fill in with rocks or pebbles to provide some weight which keeps the tall stems from toppling over.

Place your plastic root pots in the bowl and continue adding rocks until you feel they are secure. This is a good time to make sure your buds are facing in the direction you want.

Make sure you don't cover up the roots, just around them. You want them to be able to breathe.
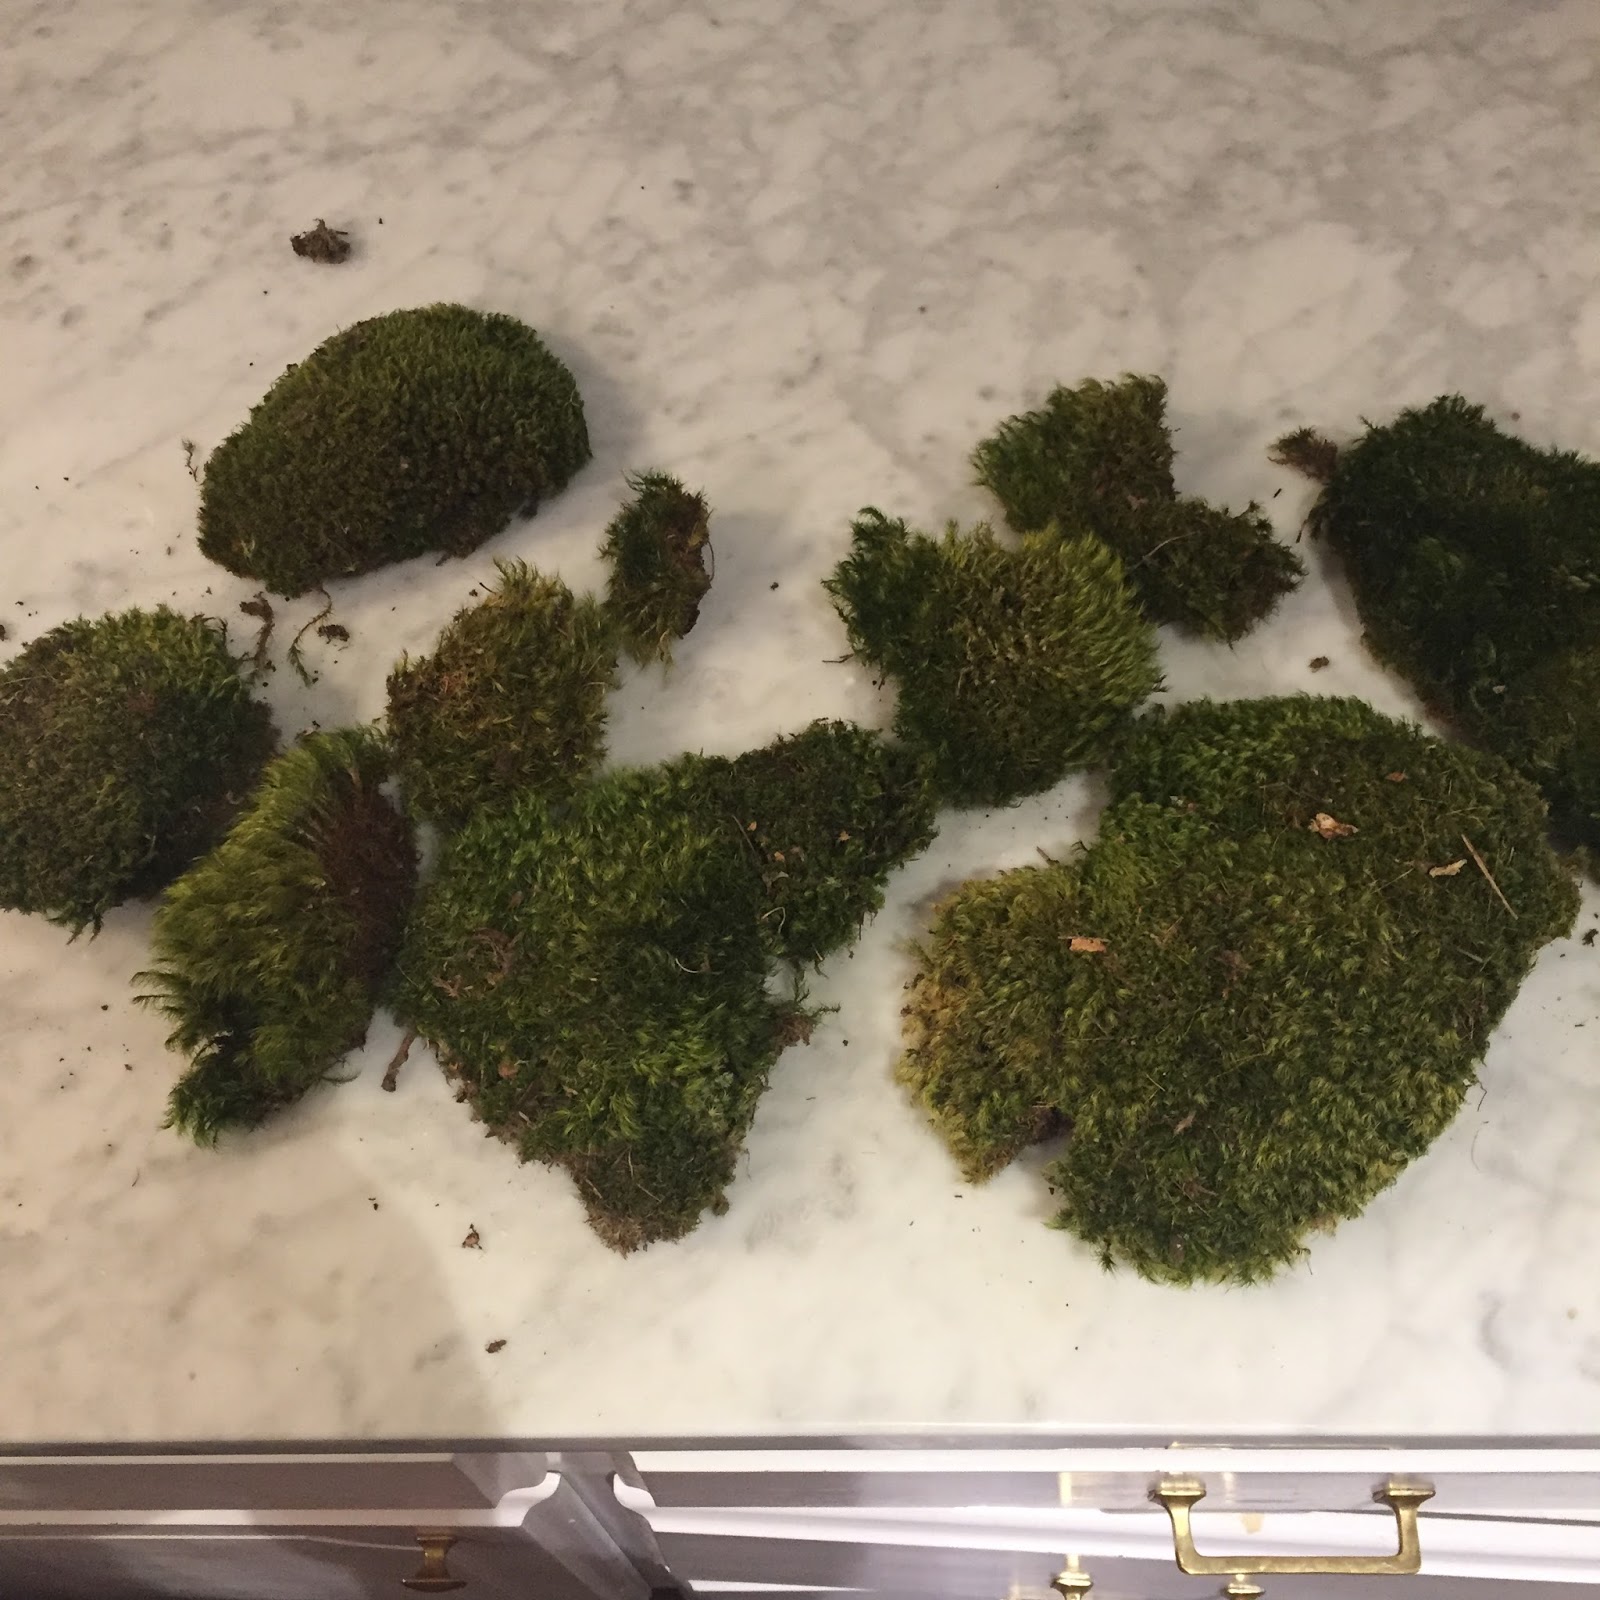
Gather up some moss (Ladies of OKC, I get my moss from Calverts!) and moisten it under running water. This make sit a little more malleable and easy to work with.

Begin to cover your rocks and plastic pot edges with moss. Don't be afraid to break your big moss chunks up into smaller bits to fill in any holes.

Again, leave the majority of your roots exposed for air flow - this is also where you will water each plant!

Finished "mossing" my bowl, onto the next part!

You can stop here, but it feels a little like an outfit that hasn't been accessorized yet...

You can find a variety of good sticks and accents to add to your orchid arrangement. My favorite is these dried curly sticks - I'm not sure what they are called, but again I found them at Calverts in OKC! You can also use driftwood, branches, or even lucite support rods (sooooo chic) to round out the look.

I cut mine down to fit the shorter arrangement height.

Gently poke your accessories into your moss - the rocks and/or foam will hold them in place.

I also love adding these faux moss balls in there for some dimension. You can also add quartz crystal points, seashells, succulents, etc. You really can have a lot of fun with them, I've even seen porcupine quills stuck in there - so fun! With that, I'm finished!

The final product - much better than a little ceramic pot I think!
Happy arranging friends!
Xx
Ivy